Single-piece seals are a better choice than seals with terminating ends that are bonded on-site. They improve efficiency, productivity, and worker safety and can also save you ~29.1% of total install costs.
Let me make my case.
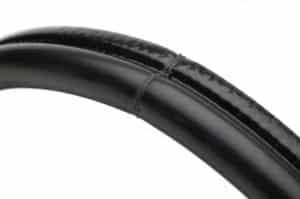
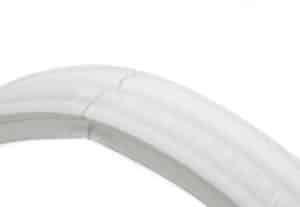
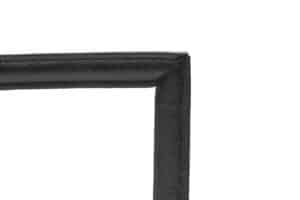
Some examples of DTi's one-piece seals
Environmental seals are used just about everywhere in manufacturing.
Take transit for example, rail cars and buses use window seals, door seals, interior seals, quick-change window seals, switch seals, route display seals, light fixture seals, screen seals, virtually any kind of enclosure seals …you get the idea the list could go on.
Seals keep doors and windows tight, zone temperatures in the desired ranges, and can be helpful in preventing vibration in fixtures and wall fittings.
They are just as widely used and helpful in virtually every area of manufacturing. However, where the seal performance is critical, OEMs will bond the terminating ends of a seal together to ensure a 360-degree fit with no gaps. This is typically done on-site in the production flow. It is, however, not an easy process.
Bonding Seals Onsite Is Complex & Messy
Seal bonding is the process of physically joining the two terminating ends of a seal together to improve the mechanical/structural strength and integrity of the seal.
However, this form of bonding is a long, complex process with several potential failure points.
- Adhesive bonding a regular seal requires 10 time-consuming steps.
- Sizing the piece to fit onto the component is an art as seal materials tend to elongate.
- The cut has to be precise so that under tension it cleanly abuts the other terminating end and does not expand or contract which can fracture the bond
- The adhesive has to be applied and clamps used for contact while curing.
- Inspections are needed to ensure both acceptable quality work and a strong uniform bond.
Seal Bonding Instructions from a Multinational Rail OEM
Below are the summarized work instructions for bonding a seal from a very well-known multinational rail OEM. Note this is a summary. Each bullet has a long section of requirements that go with it.
It is worth noting that a pre-bonded one-piece seal replaces the entire bonding operation. As a result, one-piece seals require only two simple installation steps whereas regular bonded on-site seals require 10.
| Regular Seal Bonding | DTi 1 Piece Seal |
| 10 steps | 2 steps |
Here is the detail:
Regular Seal with Terminating Ends: Application & Bonding Procedure
- Gather safety glasses /protective gloves/ ventilation.
- Gather all the bonding materials.
- Read the drawings, BOM’s, operation routers, and vendor specs needed for each work order.
- Measure and cut the seal to length allowing for any contraction that may occur over 24 hours
- Re-measure to confirm length to specification drawing before bonding
- Inspect the ends for bonding, remove any exposed substrate for a flush surface -clean and dry the ends
- Mix the 2 part glue or apply the premixed bonding material to the seal’s terminating ends.
- Carefully put the two terminating ends together. Use clamps or weights to provide constant contact pressure.
- Wait 24 hours for the adhesive to fully set and cure
- Inspect after curing, identify any defective bonding for rework/removal.
One Piece Seal: Application Procedure
- Gather Seal
- Apply
We estimate that this faster simpler application saves OEMs 29.1% of installation costs (see below).
Application Cost Comparison: DTi One-Piece vs. Regular Bonded Seals
Here is how we calculated the savings per seal.
- We estimated the minutes for each installation step -based on DTi’s experience with seals/seal clients.
- Labor is charged at a $60 per hour shop rate.
- The initial setup steps (in red) e.g. gathering safety equipment, reading the drawings, & gathering the seals/adhesive each take 10 minutes which is split across a batch of 5 seals to get a cost per seal. For a one-piece, that time is 5 minutes given there is just one step.
- Consumables for bonding: gloves, masks, rags, etc were factored in at $1 per seal.
- The cost of materials is set at $4.67 per LF for a regular seal and $16.67 per LF for a one-piece seal.
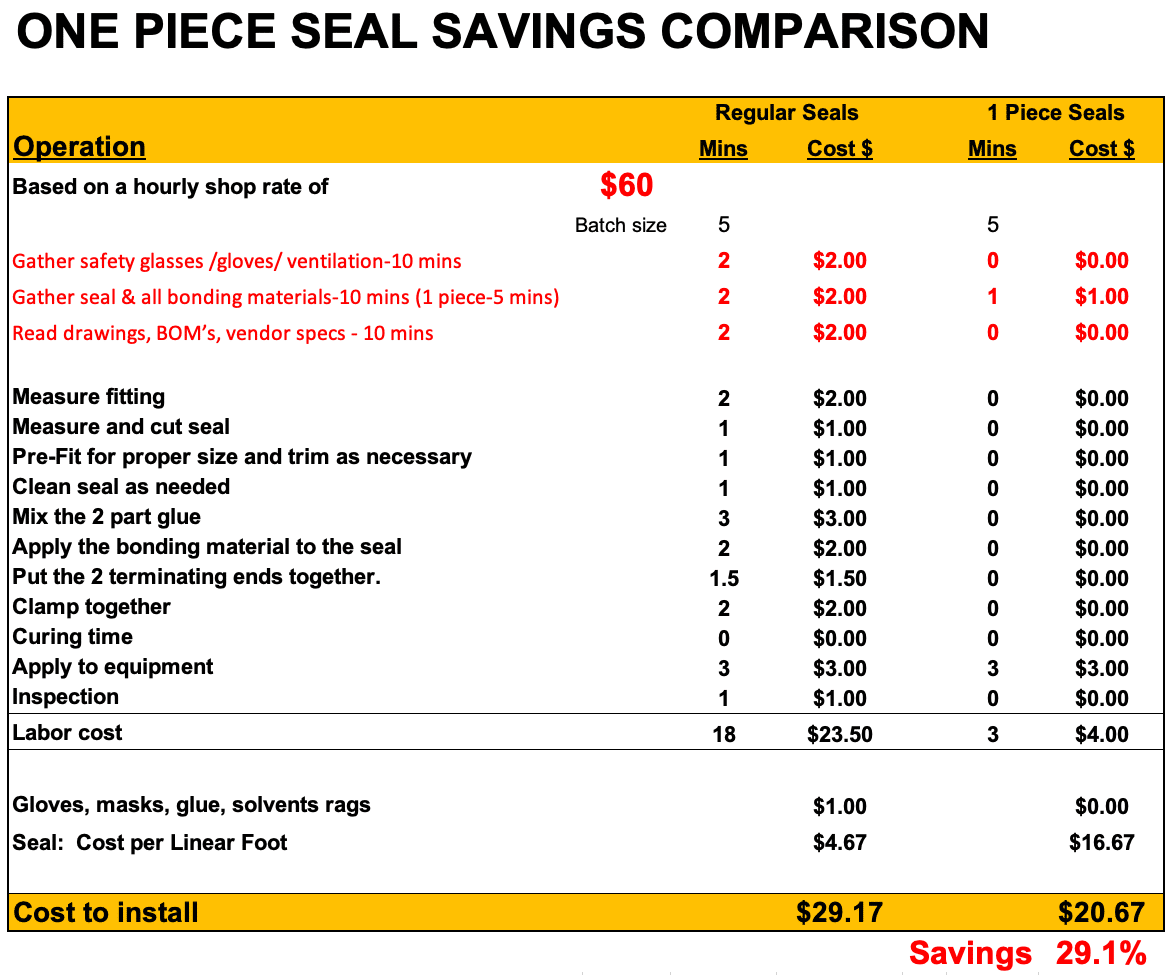
The net result is that the one-piece seal saves OEMs -based on the assumptions above- 29.1% of their installation costs. Higher material unit costs are more than offset by the higher labor cost.
Request a copy of this spreadsheet at our website or we could do it for you. Let us know.
Given this faster simpler process, it generally raises some interesting questions:
- How much money could you save with a 29.1% saving per seal?
- Could your production be faster/more efficient?
- Would this enhance the productivity of your tech team?
- Could a one-piece seal help you automate what was not possible to automate before?
Summary of One Piece Seal Benefits
- 29.1% saving per seal
- Efficiency- far easier application – techs can be allocated to other work
- Faster cleaner process
- Prevents rework
- Worker safety -no VOCs – no hazmat
- Automation- single-piece installation can be automated
There are plenty of applications for one-piece seals. High volume uses include window seals, door seals, electronic enclosures, and tubing. However, the nature of the project will define if it could or should be used.
An outside door seal to prevent draughts on a building is unlikely to warrant a one-piece seal. But for an enclosure on a rail braking system that has to withstand significant rain, dust, wind, and heat – it makes perfect sense.
Given the feasibility of automating their application, they feature in the automation/robotics plans for a number of DTi clients.
Any OEM looking to reduce costs, simplify and speed up production should consider one-piece seals.
Find out more about DTi’s Seal products here.
Request free samples here
Read a related post One Piece Seals Outperform Seals with Unbonded Terminating Ends.
